| inviato il 29 Aprile 2022 ore 12:11
- Live ND Olympus su TUTTE le fotocamere -
www.juzaphoto.com/topic2.php?l=it&show=1&t=4231366
www.dpreview.com/forums/thread/4435451
HOW-TO: LiveND, 14 stops DR, ISO 25 RAW on any Olympus camera
Oct 18, 2019 
Don't know how many people know that any Olympus camera is capable of generating Medium Format image quality with a bit of fiddling in the playback menu.
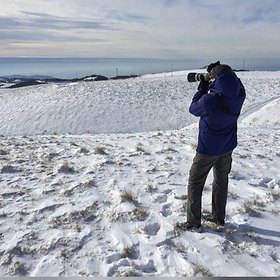
It can be done on a tripod or handheld.
- Camera settings for shooting -
Image Stabilization set to Fps Priority (Cogs->C2 menu on E-M1 II) when doing this handheld
IBIS mode set to S-IS1 (All Direction Shake I.S.) when handheld or off when using tripod
Drive mode set to sequential High at highest possible framerate
Electronic shutter preferable
For convenience: Frame Count Limiter set to 2/4/8/16/32, depending on required effect - (Cogs->C1H Settings on E-M1 II) - if you're doing it handheld and are not confident in the stability, you might want to set the limit a bit higher to have some wiggle room in case first or last couple of images are not aligned
- Shooting procedure -
Handheld: assume stable position, press the shutter button until camera takes the desired number of photos
Tripod: same as above, only with tripod and preferably remote shutter release
Ok, so you've now got your 2/4/8/16/32 photos. What's it all about?
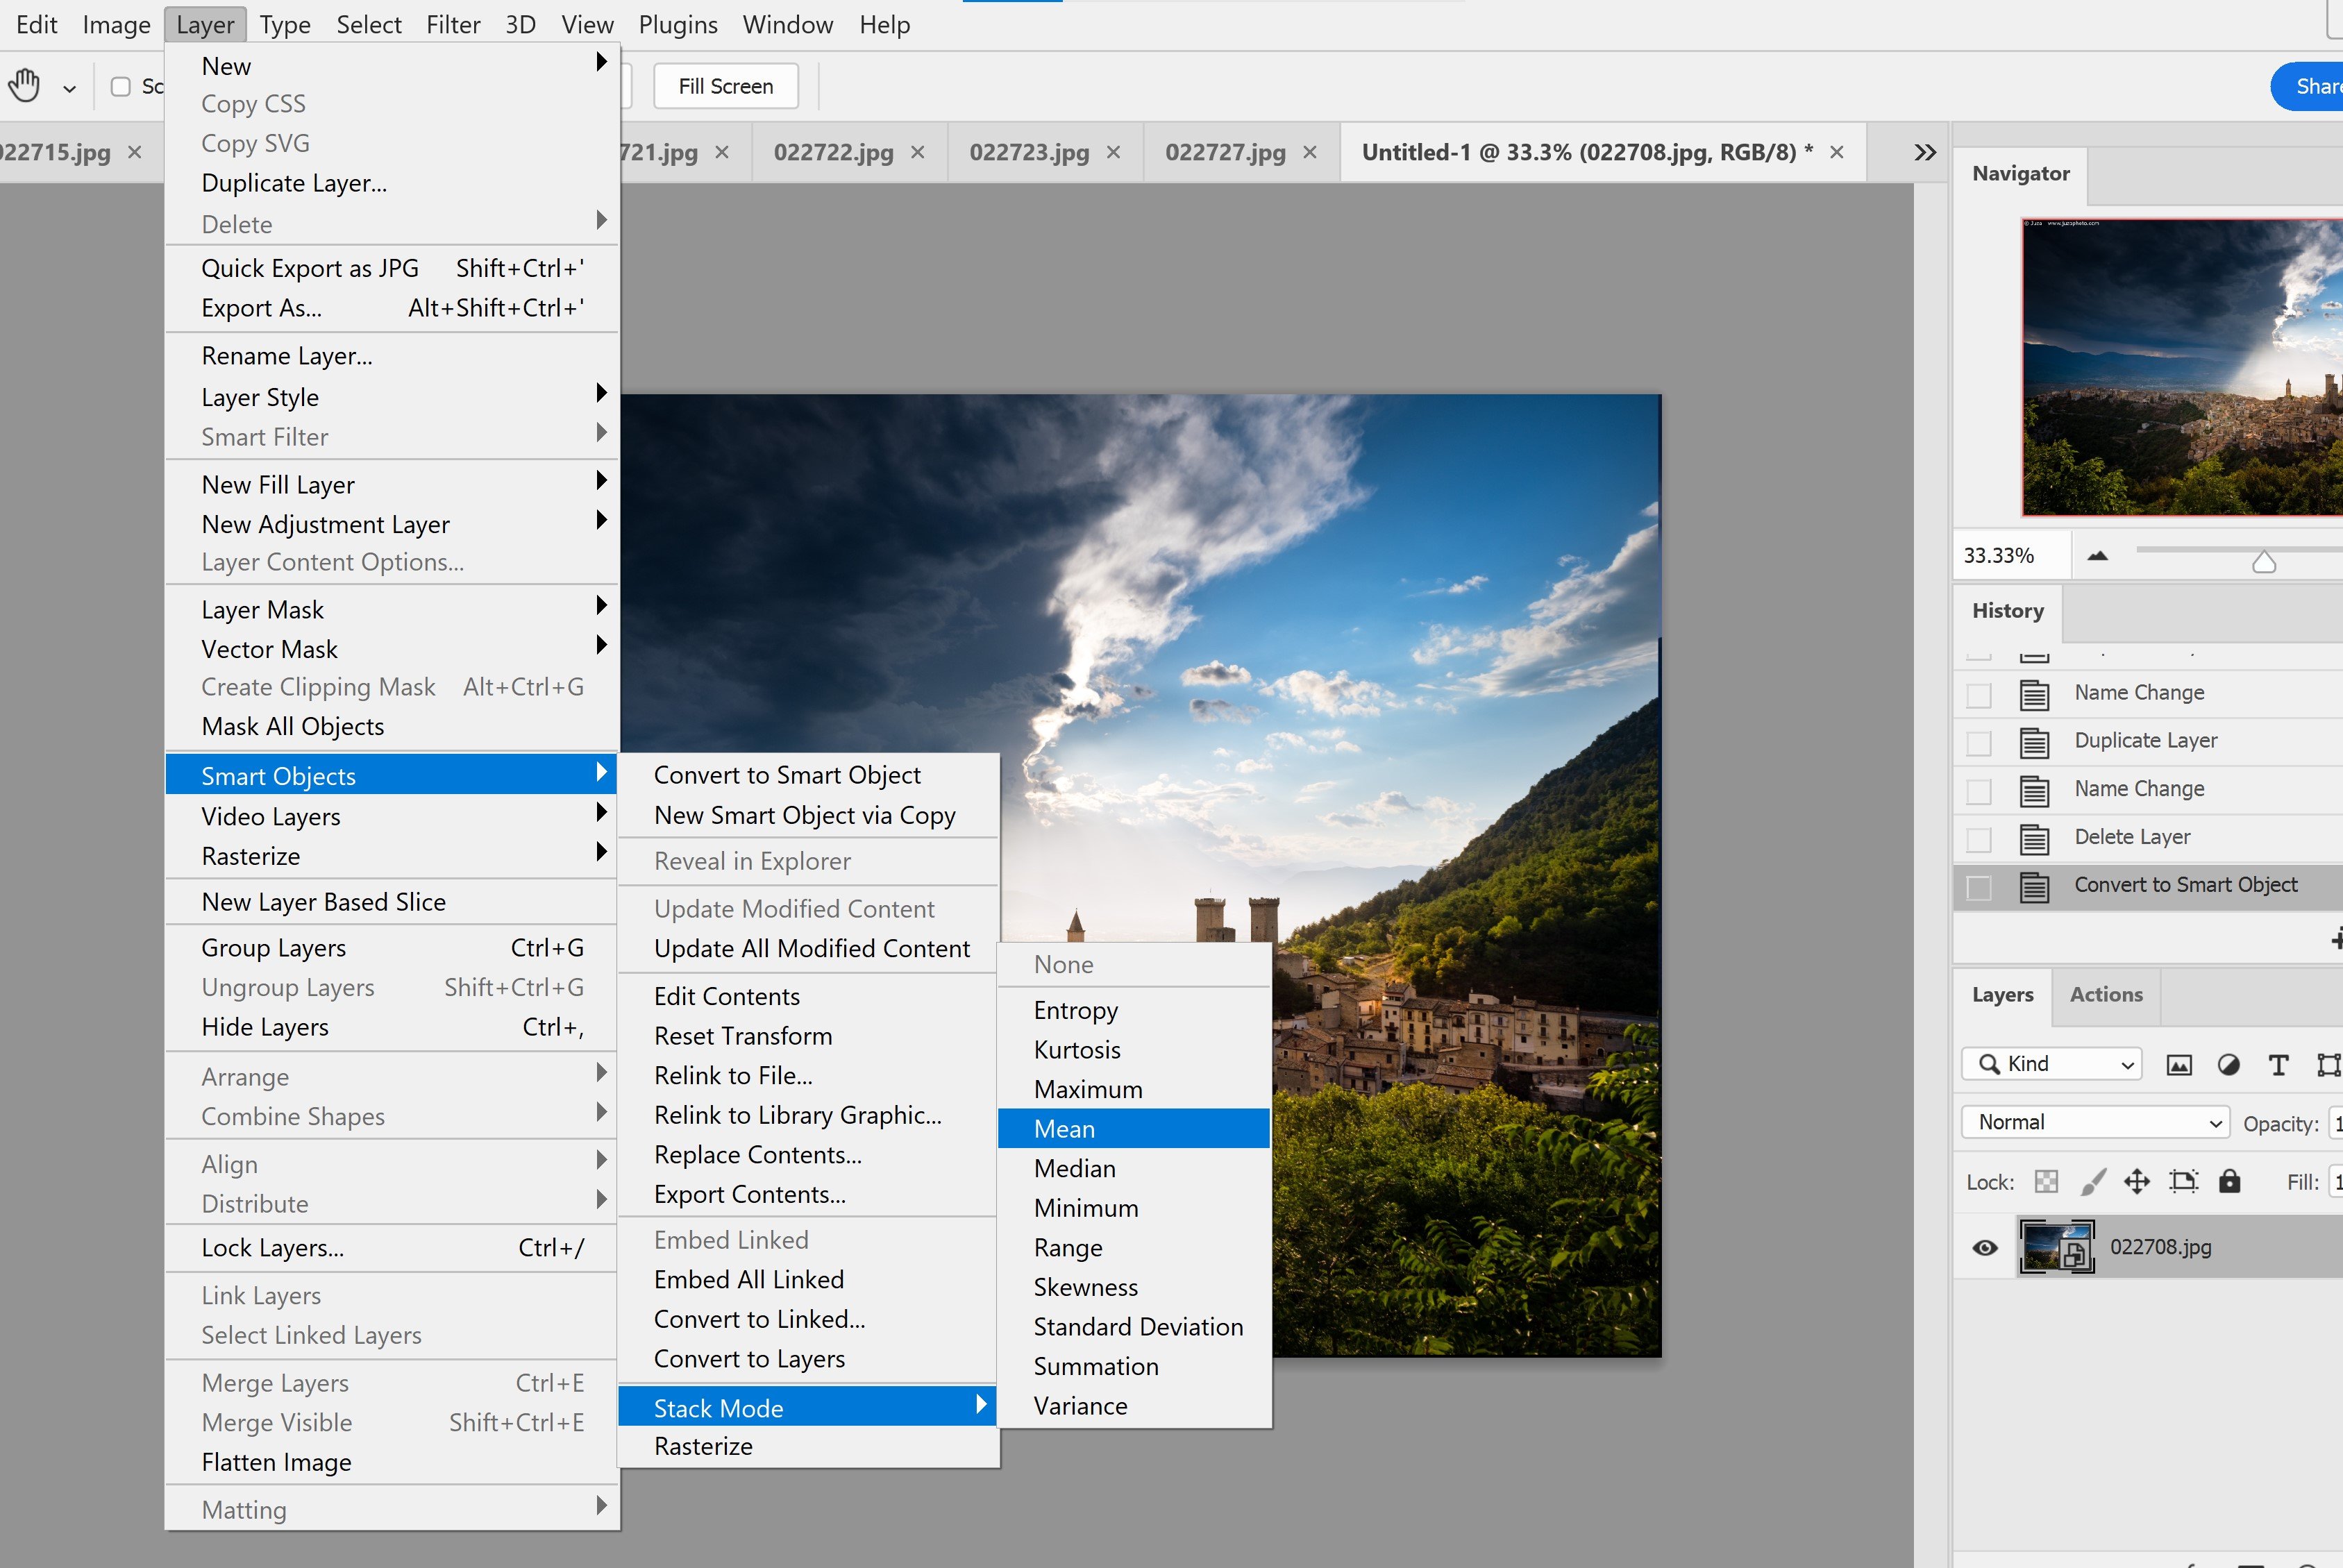
Simple. Image stacking. You merge all those photos into one, resulting in lower noise, thus better dynamic range and as a side effect, an ND filter effect. You can of course do that in Photoshop, but it can be done in-camera, which produces a single RAW file.
So in the end, shooting at base ISO of 200:
2 images = 1 stop ND filter, 1 stop noise reduction, ISO 100
4 images = 2 stop ND filter, 2 stop noise reduction, ISO 50
8 images = 3 stop ND filter, 3 stop noise reduction, ISO 25
16 images = 4 stop ND filter, 4 stop noise reduction, ISO 12.5
and so on...
- Result -
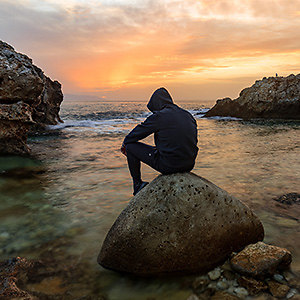
Here's a sample handheld result (full res, 100% JPEG, heavy files). To illustrate the point better, I have applied a lot of settings that make any noise a lot more pronounced. This is intentional, just to show the improvement better. I would normally not process a photo this way. Note that there is ZERO noise reduction of any kind applied to the RAW. Everything done in Darktable.
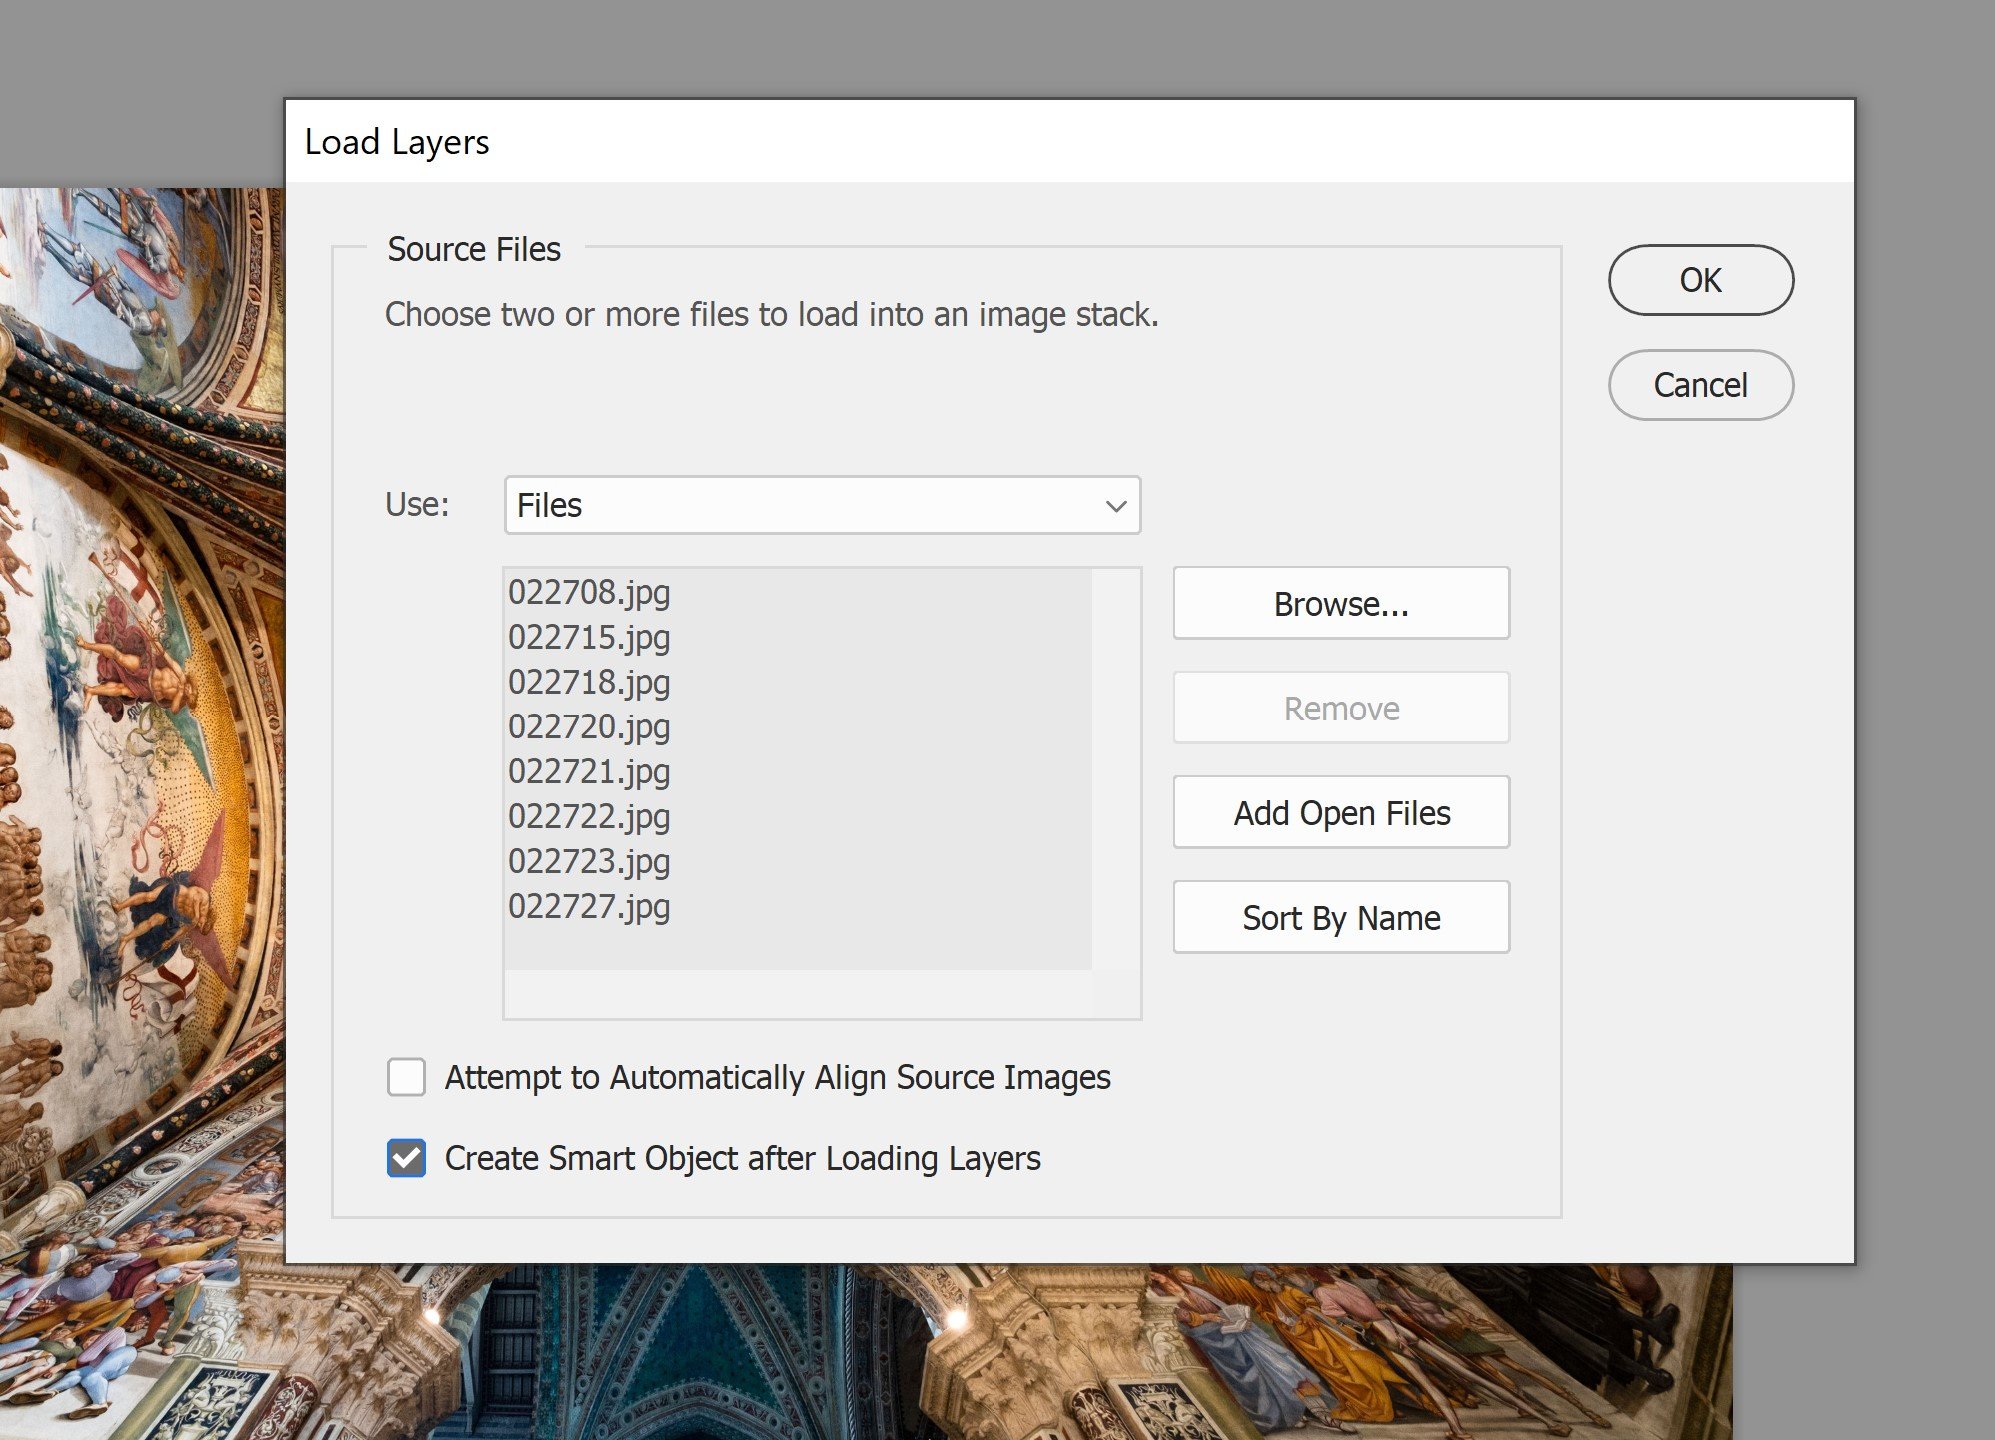
- Stacking procedure -
I really should make a video of it, but it sounds like so much work... Anyway, here it goes.
Let's start with two photos, since this is the part that will be repeated multiple times.
Enter playback mode
Go to the grid view (using a dial)
Find the two photos to process and select one of them using arrow buttons
Press OK, this will bring out a menu
Select Image Overlay option from that menu (you might have to scroll down a bit to see it)
Choose 2Images Merge, you will be thrown back to grid view, note that the image you were just viewing is now selected and there's a checkmark over it
Select the second image and press OK, a new screen appears with two tiny images at the bottom and a big preview image at the top
There are two numbers on the tiny bottom images, up/down buttons change the value, left/right switch between the images. Set both values to 0.5
Press OK and then select Yes and press OK again, the camera will think for a second
You are now seeing a merged image, you can go back to the grid view. Note that the new image appear last.
So this is the basic building block of the procedure. It might look complicated when presented like that, but it's really trivial once you do it once.
So, how to do it for 8 images? You have to repeat the above procedure 7 times:
Merge each pair of the 8 photos. This will result in four 2 image stack.
Merge each pair of those 4 stacks. This will get you two 4 image stack.
Merge the remaining 2 stacks. This will result in the final 8 image stack.
The tricky part is that each resulting merged image will take you to the end of the image list. From there you need to find the set you were processing and then select the right pair to process. This is where the lock function comes in. Pressing the lock button puts a fat green key icon over the image. Use that as a marker. I simply lock the right side image of the pair I am processing. This makes the process trivial, as I know what was the last pair I merged.
- Considerations and limitations -
Basically, the faster the camera and the better the IBIS, the less limited this method is. So the best results will be using E-M1X and E-M1 Mark II, followed by E-M5 III and then all the rest. And I did perform this process on the original E-M1. It works.
- Doing it handheld -
There is no alignment process here. This means that there must not be any movement in between the shots.
This is why the state of the art IBIS is important and a reason Fps Priority needs to be used. With my E-M1 II, I can do the 16 shot version when fast shutter speed is involved.
Also, before proceeding, verify that there is no shifting between the images. Shooting E-M1 Mark II, I don't bother doing that anymore unless I'm pushing my luck by actually attempting semi long exposures.
- Live ND -
You can see the problem of this method for simulating an ND filter in the example above. It does not work well for fast moving objects when using very short exposures and just 8 frames. If you can do it on a tripod and use half a second exposures or a lot of frames, the effect would be a lot better and probably indistinguishable from a real ND filter
Obviously, doing that handheld will greatly depend on your stability and IBIS performance. The older cameras with slower burst modes and slower sensor readouts will have longer gaps in between the individual shots, which will exacerbate the issue.
- Shortcut to do it quicker -
It's possible to merge 3 images at a time. So instead of three passes (7 merges) to process 8 images, you can do two passes (4 merges) to process 9 images. The problem is that the next step after 9 is 21
Also, 0.3 + 0.3 + 0.3 = 0.9, so either each consecutive stack gets slightly darker, or you use 0.4 for one of the images, making it dominant.
But it would still work well for noise reduction, so for static scenes when you don't care about getting an ND filter effect, this speeds up the process significantly. Also, the math is no longer simple, so for the sake of simplicity, I stick to 2 images in this guide. |


 JuzaPhoto contiene link affiliati Amazon ed Ebay e riceve una commissione in caso di acquisto attraverso link affiliati.