Photoshop CC and Camera RAW, text and photos by
Juza. Published on 17 Ottobre 2014; 12 replies, 15525 views.
I use exclusively Adobe Photoshop to post processes my photos: even though there are many good image editors, none offer the wide range of features and the advanced controls of Photoshop. This software is available only with a monthly subscription; even though I much prefer to buy perpetual licenses for the programs that I use, at the end I have decided to subscribe to Photoshop CC: let's see how the workflow has changed with the latest version of PS and how we can get the best results from our photos.
A glance to Photoshop CC and Camera RAW
Even though CC stands for 'Creative Cloud', Photoshop is not really a cloud software: after purchasing the subscription, you have to download the program and to install it on your computer. The advantage of the subscription is that you will always have the latest version of PS and Camera RAW; the disadvantage is that if you cease your subscription, you will end up without any software, while with the previous 'perpetual license' model once you paid for the program you could use it forever. Like it or now, nowadays Adobe offers only the subscription option so if you want to use Photoshop there are no choices.
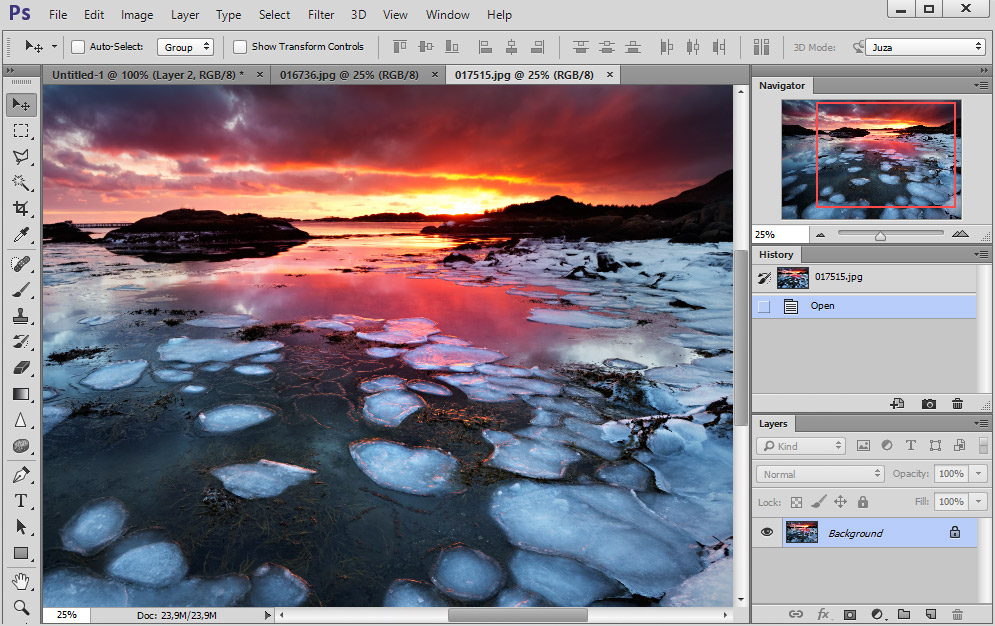
Photoshop has a rational and well-thought interface that gives access to the many controls. The workspace is easily customizable; in the following screenshot you can see my usual workspace with PS CC. On the left side there is the Toolbar; the image is in the center, and in the right side there are the windows that I use most often: Navigator, History and Layers. The upper (horizontal) toolbars contains the various menus and the settings for the selected tool. The current version of PS supports 'retina' (=very high resolution) displays, too.
The strength of Photoshop is a complete set of controls and tools that allows to retouch every aspect of the image (color, contrast, detail, etc.), to correct lens and camera errors, and to expand your creativity. Photoshop is not designed to be easy - some tools are pretty straightforward, but others require some time to learn how they works: the purpose of my articles about Photoshop is to explain how to get the best results from this program with nature photography images, even though many techniques can be applied to every kind of photo.
Photoshop includes Adobe Bridge, an excellent file browser, and Adobe Camera RAW, the plug-in to convert the RAW files of nearly all existing cameras. Every two-three months Adobe upgrades ACR to support the latest cameras; you can download manually the latest version from the Adobe Camera RAW page or you can install it automatically with the auto-updates of Photoshop, as I recommend. With Photoshop CC, you will always have the most updated version of ACR.
My workflow : from the camera to the processed photo
I carefully post processed each RAW file to optimize the image; usually I spend from 5 to 15 minutes per photo, even though some photos that requires advanced processing take more time. The first step is to set the camera file format on on RAW. The other parameters (Saturation, Contrast, Sharpening, White Balance) don't matter, you can set them as you want since they will be applied only to the preview image, and the RAW file remains untouched. You can change all them when you open the file with ACR.
With Adobe Camera RAW, I set te majority of parameters and the controls on neutral values. I prefer to avoid the most of the enhancements with ACR, because its controls are not as fine and advanced as the tool of Photoshop. Converting the file with these settings, you get a quite 'flat' image: while it looks bad, it is actually a very "untouched" image that has the maximum detail you can extract from the file, and it can be easily post processed with Photoshop. Here you can see how I use each tab of camera raw.
 1)
1) First, click on the 'workflow options' link that you will find under the main previev of the photo; here you can set the main parameters of the image.
Set 'Space' on 'Adobe RGB' and 'Depth' on '16 Bits/Channel'. The 16 bits allows to maintain the full dynamic range of the photo and to make adjustments with minimal loss of image quality; the Adobe RGB color space gives a wider color gamut than sRGB and it is supported on most semi-pro and professional screens. All other parameters are disabled by default; leave them disabled. (in case they are enabled, deselected them all)
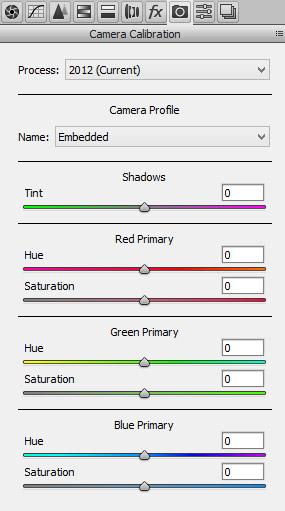 2)
2) The second step is to click on the eighth tab of camera RAW, called 'Camera Calibration'. This tab influences tha appearance of all other tabs, so you have to begin there. There is only one setting that you need to change: set 'Process' on '2012 (current)'.
This setting allows to use the latest and most updated interface of camera RAW. I leave all other settings on the default value, that is zero.
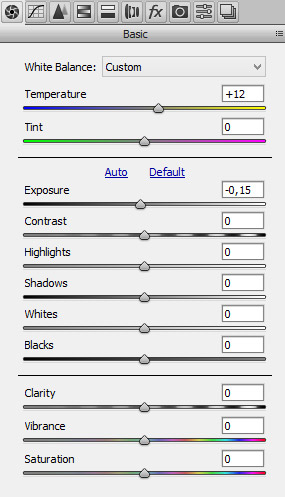 3)
3) Now you can come back to the first tab of camera RAW, 'Basic'. The first two settings, 'Temperature' and 'Tint', allows to change the white balance of the photo; I use them if the photo has color casts.
If, instead, the photo is either overexposed or underexposed, I try to correct it with the 'Exposure' control: with recent APS-C and FF cameras you can recover up to two stops in the shadows and the highlights, even though you may lose some image quality. Of course, if the photo has the correct exposure you can leave this control on zero.
I never use the following tools (Contrast, Highlights, Shadows and so on) because I prefer to do these adjustments with the tools of Photoshop, so I leave them on zero.
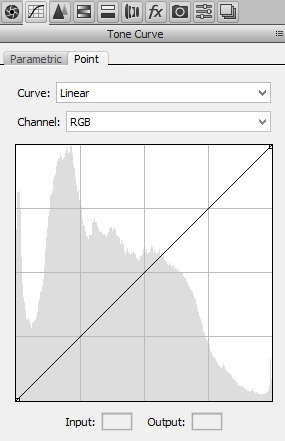 4)
4) I don't use the curve adjustment of ACR, so I simply leave it disabled by setting 'Curve' to 'Linear'. Other than that, I leave all values of the sub-tab 'Parametric' on zero.
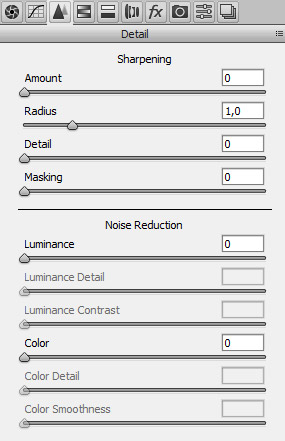 5)
5) The third tab, 'Detail', is more important. To use these settings, increase the image zoom to 100%, or 200% if you are using a high resolution ('retina') display like those of recent MacBooks Pro. I don't use the sharpening of camera RAW, so I leave 'Amount', 'Detail' and 'Masking' on zero, while the Radious value does not matter, if the other settings are on 0 it does not change anything.
I often use, instead, the 'Noise reduction' controls for photos taken at high ISO; a moderate correction with the 'Color' slider can be useful even for photos at low ISO. The values depends by the image, but usually I set 'Luminance' and 'Color' on values between 5 and 20, and I leave the other tools on the default values.
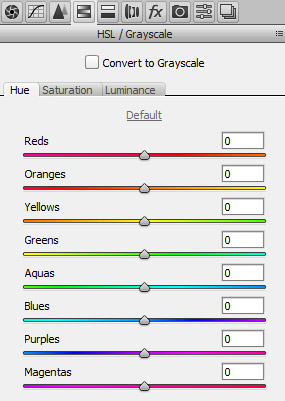 6)
6) I don't use the 'HSL/Grayscale' settings, so I leave all them on zero.
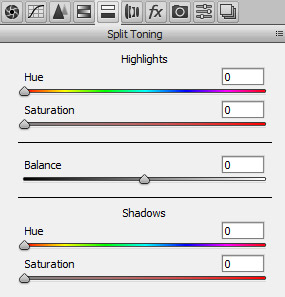 7)
7) Same here: I don't use the 'Split Toning' settings, so I leave all them on zero.
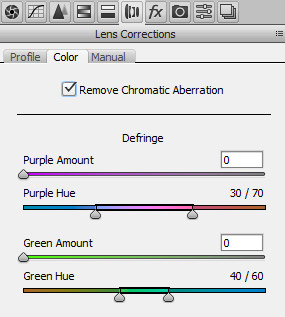 8)
8) With ACR and Photoshop you can correct several aberrations of the lens: chromatic aberration, fringing, distortion and vignetting. I prefer to use Photoshop for distortion and vignetting, while Camera RAW is much more effective for chromatic aberration and fringing. Removing CA is extremely simple: you just have to select the 'Remove Chromatic Aberration' option. All lenses suffer from some degree of CA, so I always use this correction.
Instead, the fringing is less common aberration that can be found mainly in very large aperture lenses (e.g. 85mm f/1.2); you the photo shows fringing, you can correct it with the defringe controls. You can find more information on this topic in the article 'Corrections lens aberrations'.
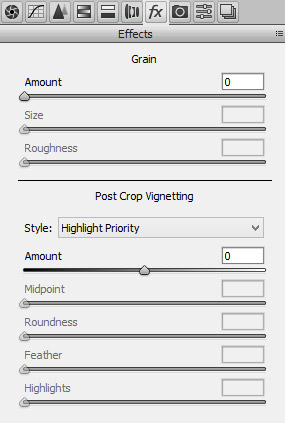 9)
9) I leave everything on zero (disabled) in the 'Effects' tab. The next tab, 'Camera Calibration', has already been described in step two so I won't repeat it here ;-)
 10)
10) Of course, you can save all the parameters to save time for the following photos. Click on the small menu icon on the top right corner and then click on 'Save New Camera RAW Defaults'; the current setting will be applied to all the RAW files of the camera that you are using.
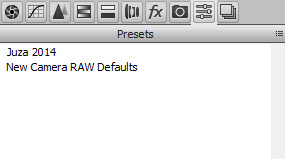
In alternative, click on 'Save Setting' to create a preset that can be applied to the RAW files of every camera. All saved presets are shown in the 'Presets' tab; to apply a preset, click on the Presets tab and then click on the name of the preset that you want to apply.
 11)
11) I don't use snapshots so my 'Snapshots' window is always empty.
When I've loaded the photo into PS, I do the main adjustments of color and contrast for all the photos, and other customized processing: for example, if the photo has been taken at high ISO I use noise reduction; for some sunrise/sunset photos I use the technique of blended exposures to expand the dynamic range; many times I use the layers and layer mask to make selective adjustments of color, contrast and other enhancements (all my techniques are described in-depth in my Photoshop articles). When I've finished the processing, save the photo as uncompressed TIFF.
Why post processing?
There are many ways to post-process a photo. You can do just the basic adjustments of contrast and saturation, or even setting the camera on your preferred color/contrast parameter, shooting in JPEG and don't post-processes the photos at all. In the other hand, you can spend hours on every photo to use advanced techniques and to enhance every aspect of the image. You can consider nature photography as a kind of photojournalism, that has the only purpose of showing reality, or like portraiture and art, where every retouch is allowed. They are very different interpretations, but they are both legit, as far as they are honestly declared.
My approach to nature photography is something between these two "extremes": I try to enhance the photo as much as I can, while maintaining its value of natural history image. That said, I don't consider my photos a faithful representation of reality, rather an "interpretation" of the scene - I like warm, saturate colors, perfect contrast, clean background without distracting elements and perfect details. On the other hand, I want to maintain the natural history value, so I don't make composites (with composite I mean taking the subject from a photo and moving it into another photo), and I don't do other retouches that invalidate the image. Just to make an example, it is ok for me to clone out even large elements from the background, but I'd never add a sixth gill to a fish (nearly all fishes have five gills), even though it would be just a matter of cloning few pixel: for me it is not the width or the intensity of the retouch that matters, but its 'meaning'.
Other that that, I avoid excessively unrealistic post-processing and artifacts as exaggerate high-dynamic range images, halos around the subject, over sharpening, badly executed cloning retouches or clearly visible background replacements: for me after a good post processing the photo must have a natural look, without any visible digital artifact.
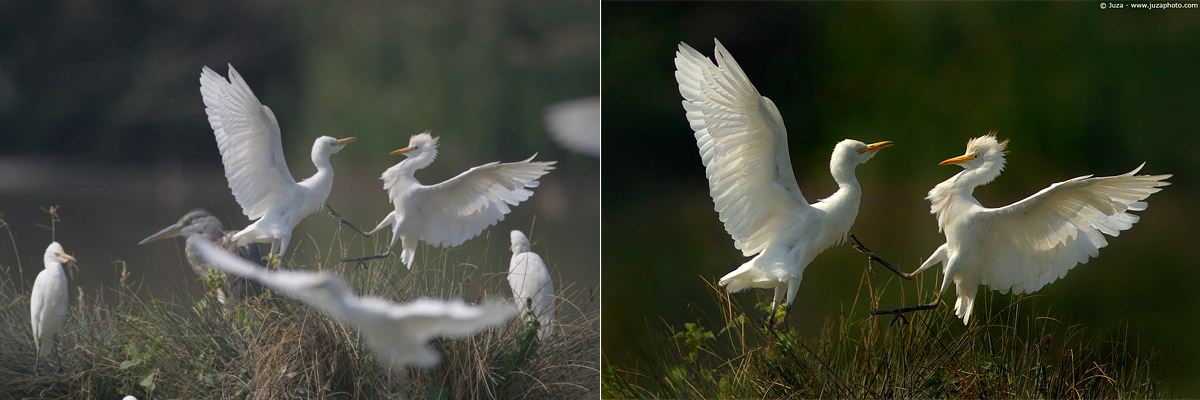
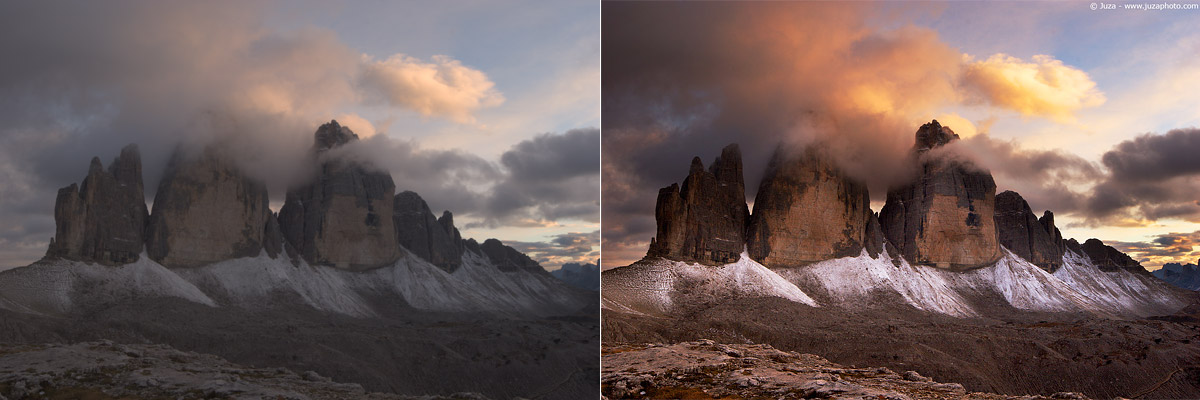
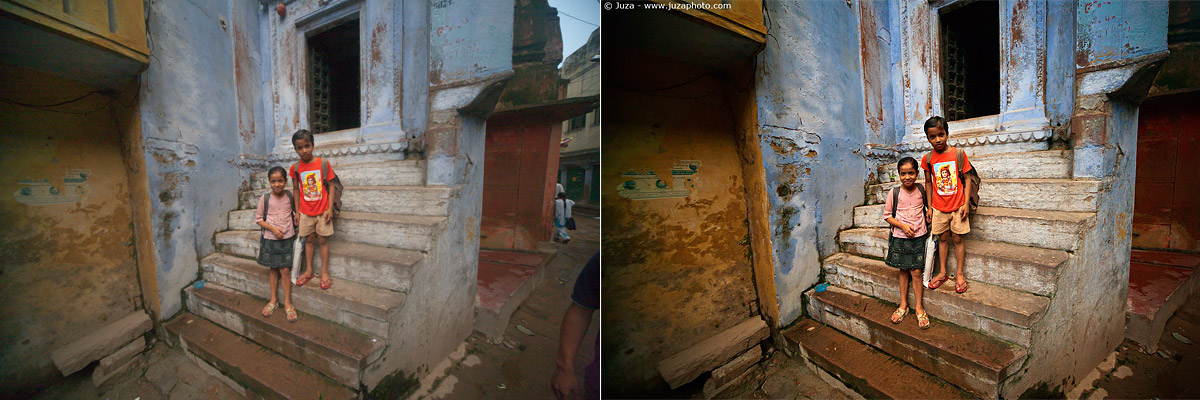
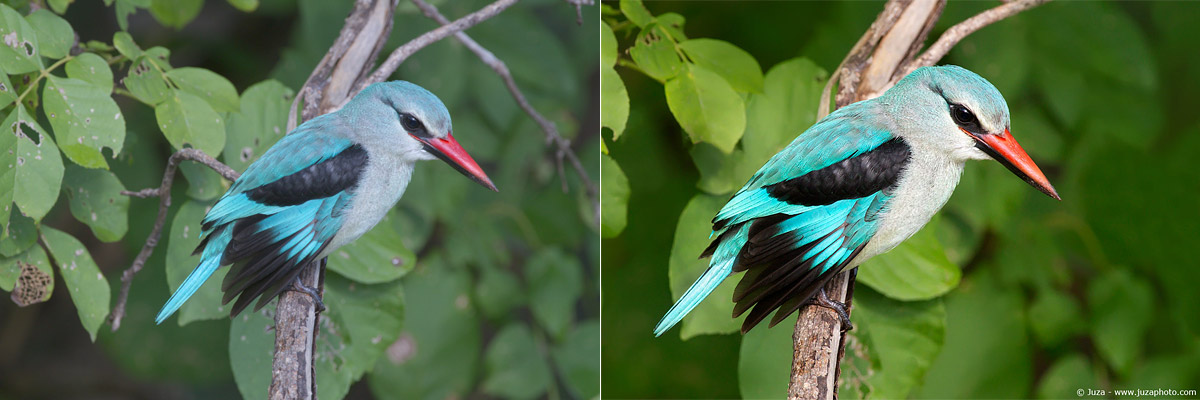
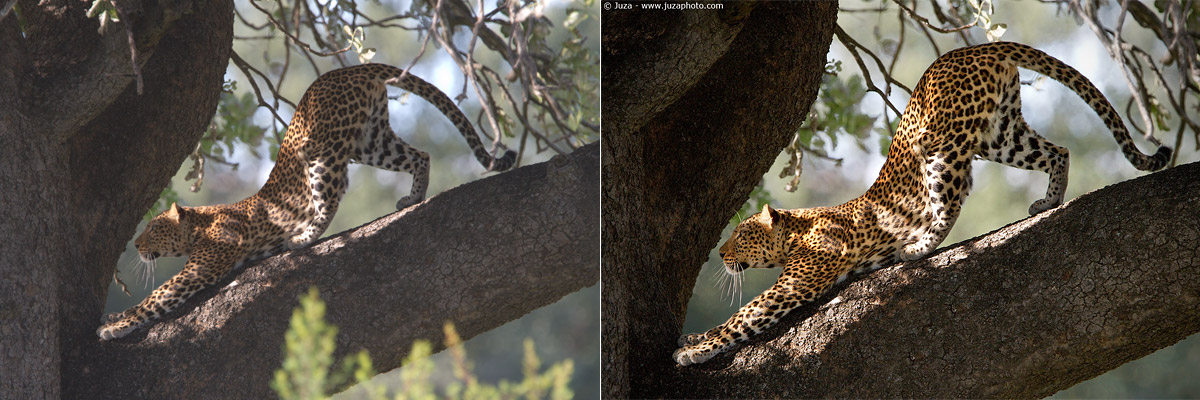
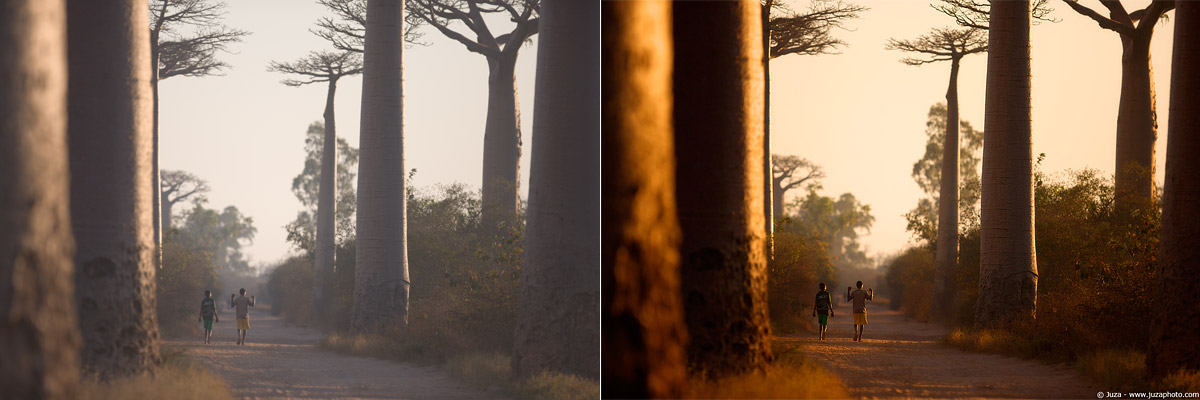
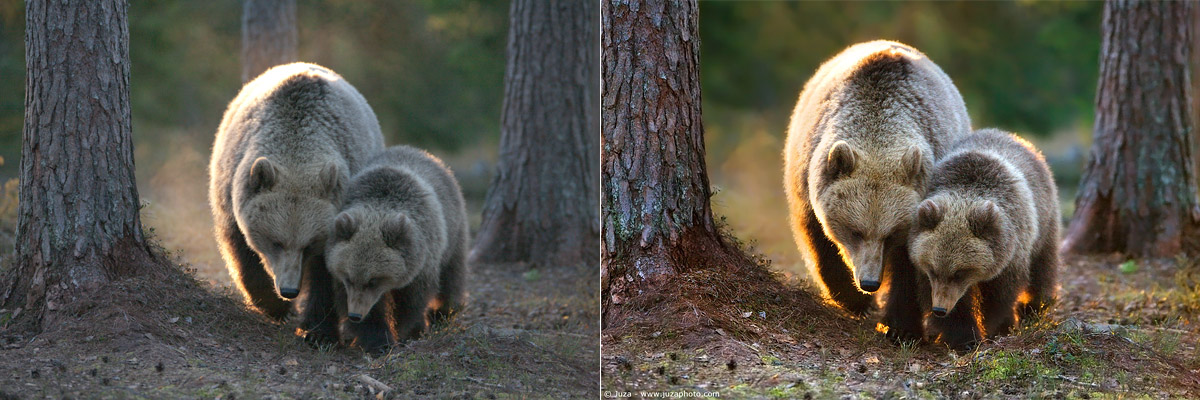
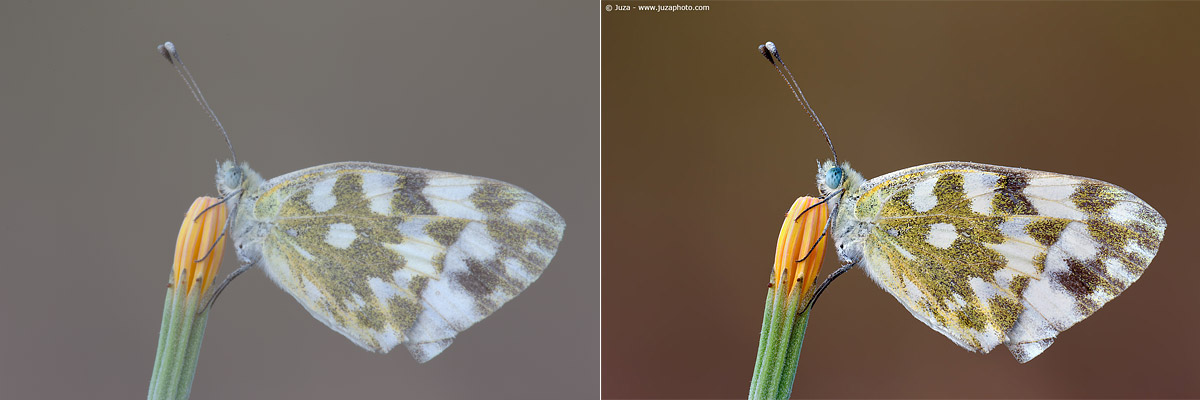
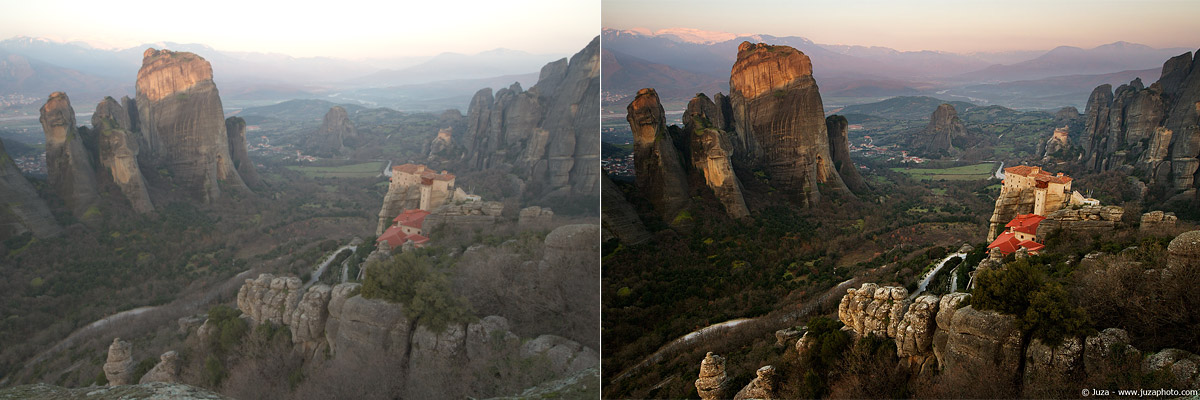
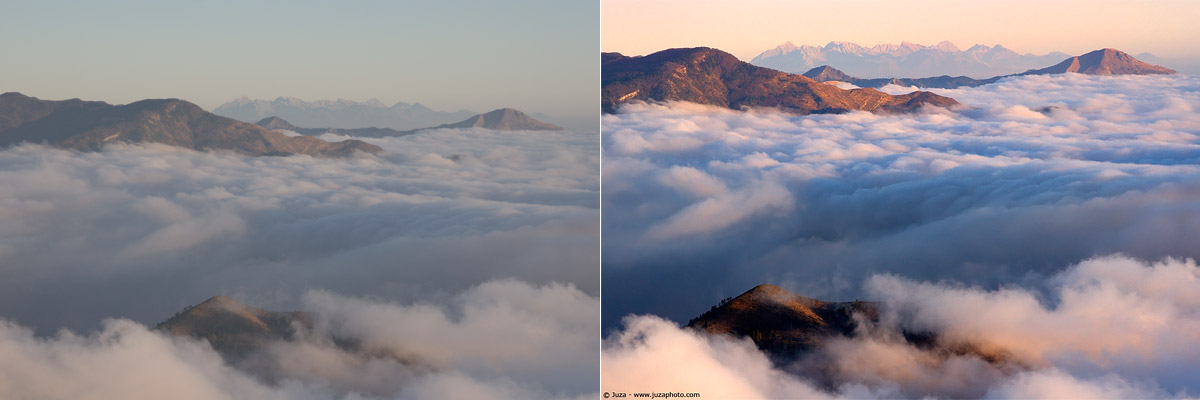
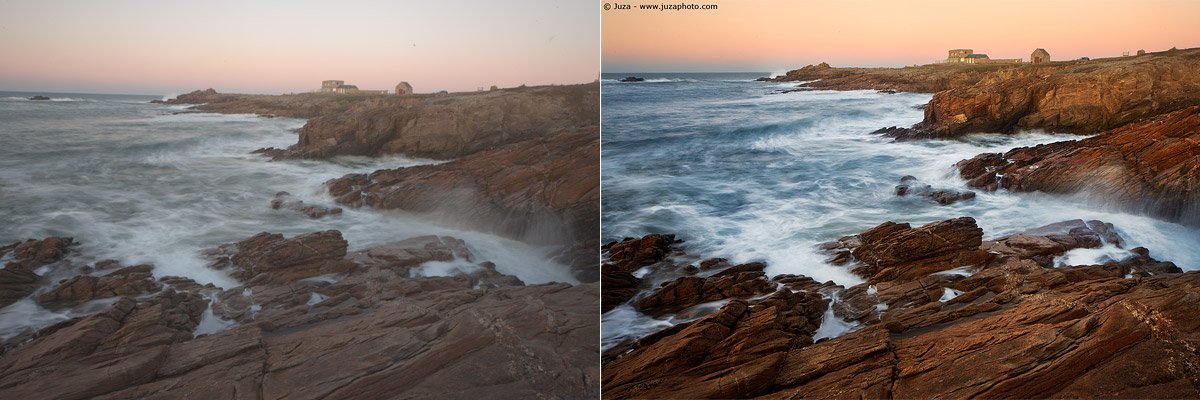
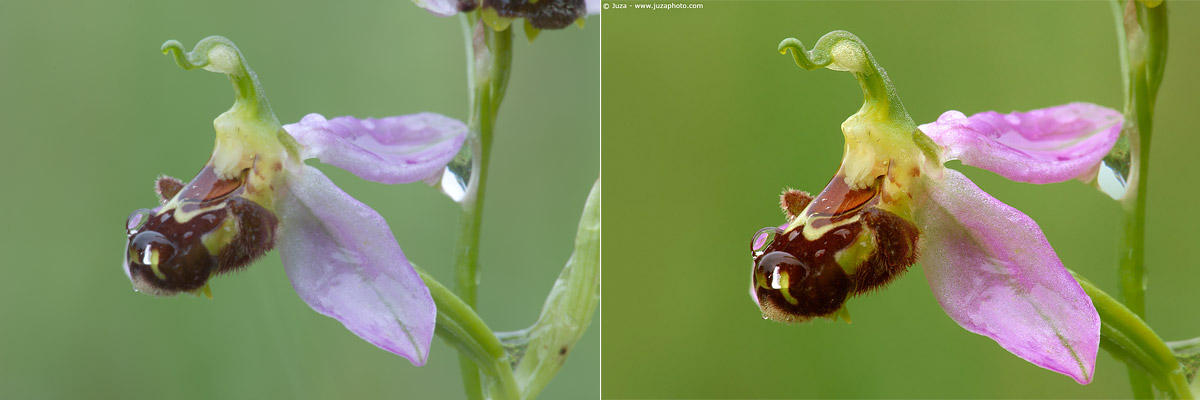
This is not a rule: it is just my approach, a personal choice. The following photos are shown before and after, to give you an idea of the results that you can achieve with good post processing techniques, and to show how I processes my images. Remember that the RAW looks pretty flat due to the conversion setting that I use, as explained in the previous paragraph.

 JuzaPhoto contains affiliate links from Amazon and Ebay and JuzaPhoto earn a commission in case of purchase through affiliate links.